Thursday, December 31, 2015

Favorite Projects of 2015

As this year comes to a close, I thought it would be fun to look back and post some of my favorite projects that I made in 2015.  So, here they are, along with a link to the original post in which each project appeared:


Build a Bouquet


Hello Life Kit


Hostess Tea Favor Baskets


Point Lobos Layout with Project Life for National Scrapbooking Day


Dreamy Painted Petals Watercolor Card


Jingle all the Way Card


Chalk it Up to Happiest Birthday Wishes


Lighthearted Leaves Card


Crazy for Christmas - Snow Place Double Gate Fold Card


Northern Lights Christmas Card


What were your favorite projects you made in 2015?  Feel free to leave a comment below about them (and a link to a photo or blog post, if you'd like, too!)  

Happy New Year's Eve!

- Michelle

Wednesday, December 30, 2015

Simply Snowflake Shaker and Thank You Cards

Hi Everyone!  A quick post today, to share with you some cards I made using pieces from my Simply Snowflake Paper Pumpkin kits (originally from November 2014, though refill kits had been available until recently).  

I was able to make some shaker cards using the sheets left after punching out snowflakes.  I simply attached window sheet directly behind the snowflake paper, then added strips of dimensionals around the edges of the window sheet, and filled the window with some snow-like beads I had left from the To You and Yours Shaker Card Kit (hard to see in the first card with the Glimmer Paper background, but more visible on the Silver Foil background in the card below that):


The silver foil snowflakes came from the kit, as did the "Merry Christmas" image, which I stamped in Lost Lagoon ink on a piece of Whisper White card stock, cropped with the Washi Label Punch.

I also created some thank you cards, and used the image from the All Shook Up Paper Pumpkin kit (from December 2014) for my greetings:


Behind the snowflake windows is a layer of either White or Silver Glimmer Paper.  The silver Washi tape came in the Simply Snowflake kit, while the Lost Lagoon tape is from the All is Calm Washi Tape (retired).


Being able to purchase past kits like these is one of the perks of being a Paper Pumpkin subscriber.  You can see which past kits are currently available here.  If you aren't already a Paper Pumpkin subscriber and would like to learn more or sign up, be sure to click here to go to my Paper Pumpkin website.  

Thanks so much for visiting my blog!

- Michelle

Tuesday, December 29, 2015

Christmas Swap Goodies from Marlene

Hi, Everyone!  Hope all is well for you!  Thought I'd pop in here today and share some photos of goodies I received from Marlene in our most recent swap of Christmas items!  

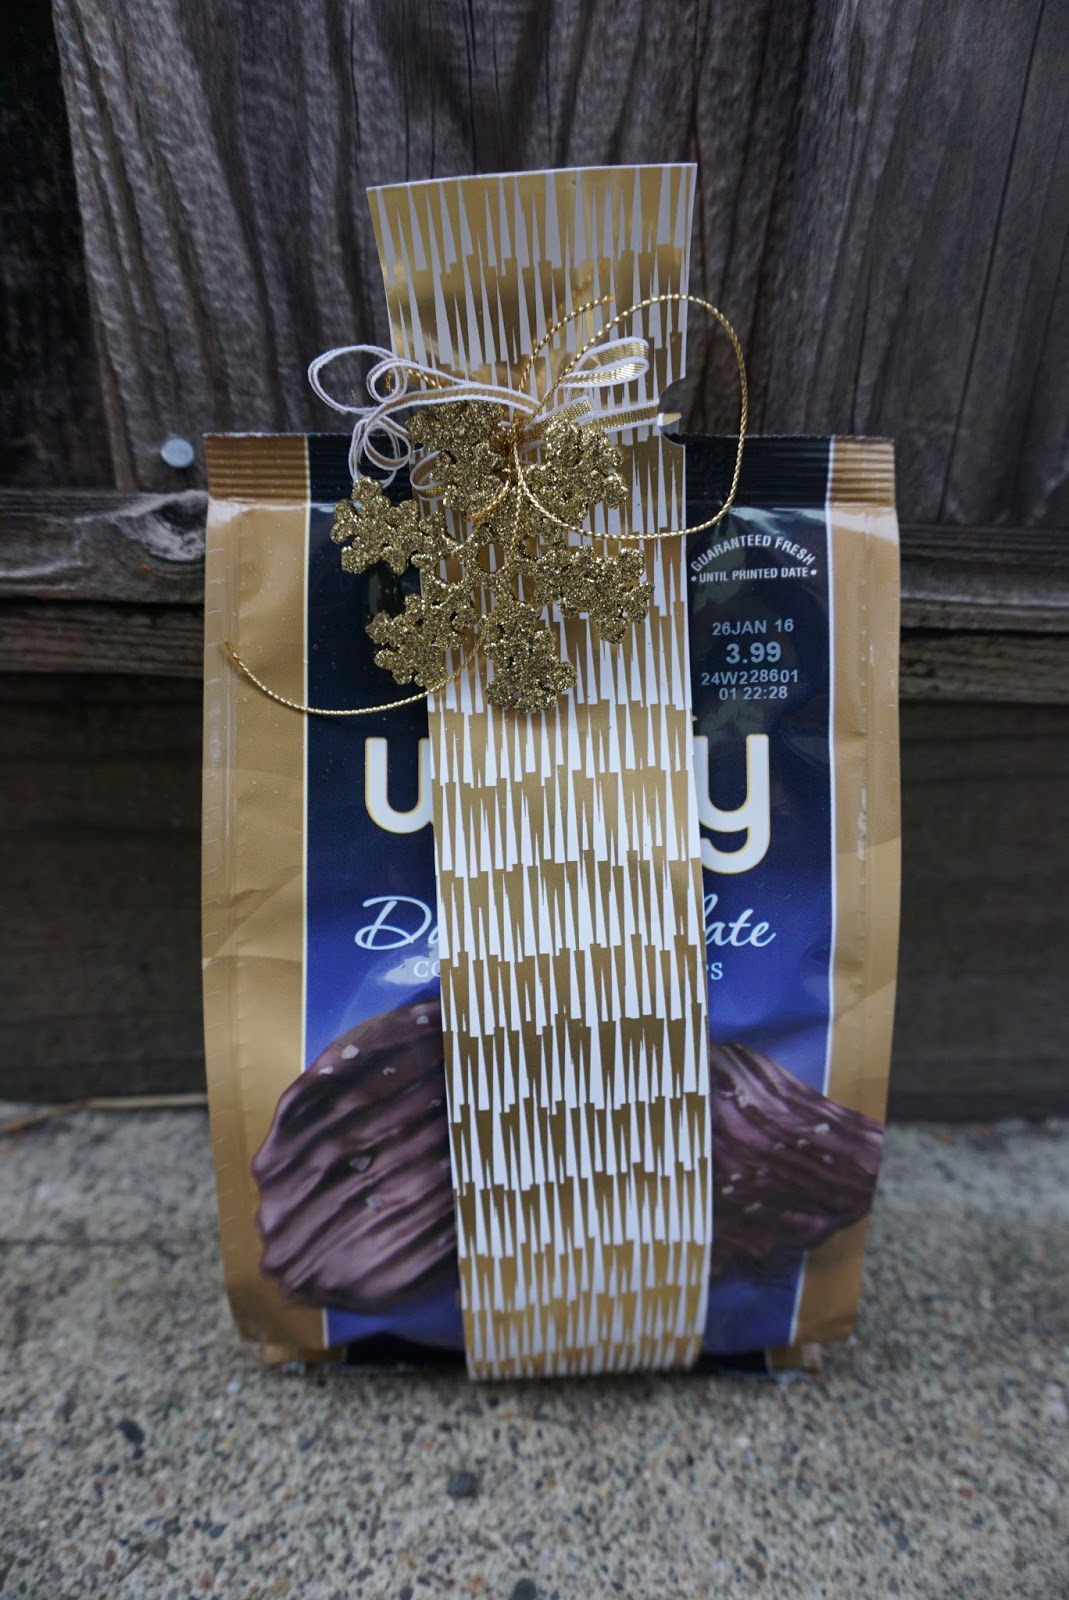
Up first are some beautifully packaged chocolate snacks:


I love how Marlene used one of the gold doilies and added a punched snowflake to it to make a beautiful tag.  And, of course, the Vanilla Striped Ribbon is gorgeous!!!  (Still available, while supplies last as part of the Year-End Sale . . . )


Here, Marlene cleverly made a "belly band" using the Winter Wonderland Specialty Designer Series Paper (again, available only while supplies last as part of the Year-End Sale).  The beautiful snowflake is from the Oh, What Fun tag kit, and guess what?  That kit is also available while supplies last as part of the Year-End Sale.


This gift box is one of the Tag a Bag Boxes, which Marlene decorated using the Home for Christmas Designer Series Paper, Gold Satin Ribbon, and another snowflake from the Oh What Fun tag kit.  Here's a top view of that:


For this goodie bag, Marlene decorated one of the Sketched Dots Tag a Bags:


The topper is made from the music design in the Home for Christmas Designer Series Paper, tied with Marina Mist Cotton Ribbon, and adorned with a Reindeer Clip.

Marlene also made this adorable Rudolf box out of the Cutie Pie Thinlets dies and punch art:


I especially love the antlers, made with the tree builder punch, and the clever "R" tag!!!  I also like how Marlene stamped the box with the Dahlia stamp to give Rudolph a wonderful, fur-like texture. I think there are so many wonderful details on this box -- don't you agree?!

Marlene also sent me this gorgeous card using the now-retired Sleigh Ride edgelits, coordinating Jingle all the Way stamp set, and To You and Yours stamp set (for the trees and deer on a mountain in the background):


Marlene created that beautiful background by sponging or brayering on the colors, and then flicking with little drops of water, and allowing those to dry.  Such a lovely effect!!!  The beautiful script paper peeking out on the side is from the Brights Designer Series Paper Pattern Stack.  The Gold Glitter Ribbon along the bottom is available while supplies last, as part of the Year End Sale.

Here's the inside of the card:


And, here is another gorgeous card I received from Marlene:


I love the Pistachio Pudding card base!  Marlene embossed it with the Boughs and Berries Folder (part of the Year End Sale, while supplies last), and the stamping on the oval piece is images from the Berry Merry stamp set (also part of the Year End Sale, while supplies last).  Inside, Marlene stamped another image from Berry Merry and added a pretty tree from the Peaceful Pines Bundle:


Here's another amazing card from Marlene!!!  She called this a "loaded card."  The outside is a sort of a sneak peek:


The real red layer is embossed with the Brick Wall folder, the window is die cut with the Hearth and Home Framelits, the tree is fussy cut from the Home for Christmas paper and the "wallpaper" in the background is from the Merry Moments Designer Series Paper,

Then, here's what you see when you open it -- a lovely greeting and a look at the decorated hearth and mantel inside the house:


And, last but not least, Marlene created this beautiful tag that is also a card:


Marlene used Banner dies, the Delicate Ornaments framelits, Holiday Fancy Foil Designer Vellum (sparkly tree paper), and Red Foil Sheets (ornament bottom layer, top layer is Glimmer Paper).  The ribbon around the top is from the Real Red and Garden Green Striped Ribbon pack (also part of the Year End Sale).

Here's inside the tag:


These beautiful stamped images are from the Oh What Fun stamp set, stamped in Garden Green ink on Whisper White.

Hope you enjoyed all these wonderful projects!  Thanks so much, Marlene, for creating them and sharing them with us!!!

Thanks so much for visiting my blog!

- Michelle

Saturday, December 26, 2015

Christmas Treat Boxes

Hi Everyone!  Hope you had a wonderful Christmas day!  Since it is Boxing Day in some places today, I thought it would be fun to share some Christmas boxes I'd given or received this year.

First is a double fry box I made, following Patty Bennett's instructions, but decorated for Christmas instead of Halloween.  I used the Snow Place stamp set and coordinating dies and the paper in the background is from the Home for Christmas Designer Series Paper:


These are a bit hard to see in the photo, but they are Tag a Bag gift boxes, I added some designer series paper around the sides, filled with homemade fudge, and tied with pretty ribbon (either the Very Vanilla 1-1/4" Ribbon or Gold Satin Ribbon):


The next boxes are obviously not homemade (though the cookies inside them are), but I did create the snowflake tags, using the Flurry of Wishes stamp set, with the image stamped in Lost Lagoon onto Sahara Sand circles.  I used a retired embellishment in the middle (from last year's Holiday Catalog, although the Winter Wonderland Embellishments from this year would have been pretty, too):


And, these are some adorable treat boxes I received from my friend Joyce Costello:


Don't you love all the sweet details she added!

Thanks so much for visiting!

- Michelle

P.S.  Don't forget the Year-End Clearance Sale is going on now!  You can check out the deals in my online store here.

Friday, December 25, 2015

Merry Christmas!

Merry Christmas!  Hope you are having a wonderful day!!!  Thought I'd pop in and share some more Christmas cards made with Paper Pumpkin kits. 

These are made using the Noel kit, and the first two are made following the kit's instructions (well, I did cut the card bases apart and use them as a layer on a Very Vanilla card base):


 The next couple are made with the same background paper, a Very Vanilla layer stamped with images from the Reason for the Season set, and a strip of Gold Glimmer Paper:


And, last but not least, here is a card I made as an alternate design using the Simply Snowflake Paper Pumpkin kit:


Being able to purchase past kits like these is one of the perks of being a Paper Pumpkin subscriber.  You can see what past kits are available here.  If you aren't already a Paper Pumpkin subscriber and would like to learn more or sign up, be sure to click here to go to my Paper Pumpkin website.  

Thanks so much for visiting my blog!

Michelle


Tuesday, December 22, 2015

Paper Pumpkin Christmas: Mistletoe and Holly Kit Cards

This year, I ended up making quite a variety of Christmas cards to send out, but a fair number were made with Paper Pumpkin card kits I'd been collecting, including the awesome kit that just arrived last month!  How'd Stampin' Up! know that's just what I needed?!  So, anyway, I thought today I'd share the cards I made with the Paper Pumpkin Mistletoe and Holly kit with you.  

I started by cutting apart the cards that came in the kit, so I could make twice as many cards!  I simply layered the patterned paper parts of each of the cut-apart cards onto a Thick Whisper White card base.  The first cards I made following the kit's instructions, and here's how those turned out:


I ended up making about ten cards that way, and I still had some holly die cuts and pearls left from the kit, which I used to make a few more cards, like these:


When those ran out, I decided to add some sparkly Gold Glimmer paper (thanks to Margery for the inspiration!) and a stripe of Gold Foil Paper, along with a stamped reindeer (from the Jolly Christmas stamp set) to create some cards like these:


I still had the negative images left from the die cuts included with the kit, and decided to create a few cards with those, too:

This card has a Pear Pizzazz base with a layer of a design from the Winter Wonderland Vellum Stack on top of it. That's Red Glimmer paper layered underneath the die cut images, and the "Merry & Bright" is from the stamps included with the kit -- I stamped on a piece of Whisper White and punched it out with the Washi Label Punch.


This card is similar, except I used one of the pieces from the cards included with the kit for the first layer after the card base.

I also created some cards with the mistletoe negative images:


For this one, I used a Pear Pizzazz base, a strip from the Winter Wonderland Specialty Designer Series Paper, some Red Glimmer Paper, and a bow from Gold Cording Trim.

For the next cards, I decided to try layering the negative piece on some Pear Pizzazz, and flipped it over to the white side so there would be more contrast.  I stamped the background image from the You've Got This stamp set in Gold ink onto the negative piece.  I embellished with Pearl Jewels and Gold 1/8" Ribbon.  (The gold foil background papers are not from Stampin' Up! . . . they came as a bonus in a card magazine I got last Christmas, and I couldn't resist using them since they went so well with the mistletoe die cut . . . ):


Whew!  Thanks for staying with me through all of those!  And, thanks for visiting my blog!

- Michelle