Friday, August 10, 2018

Fabulous Friends Friday: Marlene's Alternate Card with Good Things Grow Paper Pumpkin

Happy Friday!  Today's card is one I received from my amazingly talented friend Marlene in our last swap.  She took supplies from the March 2018 Good Things Grow kit, added a bit of card stock and imagination, and created this beautiful easel card:


I especially love how she colored the wood elements that were included as a special anniversary gift in the kit!  I believe she used Stampin' Blends!  So pretty!

By the way, August 10th is the deadline to sign up for the August kit.  So, if you haven't done so yet, what are you waiting for?  Also, if you are a new subscriber, you can get 50% off your first month!  Please click the link to visit my Paper Pumpkin page for more info!


Thanks for visiting!


- Michelle


Thursday, August 9, 2018

A Couple More Delightfully Detailed Meets Enjoy Life Cards

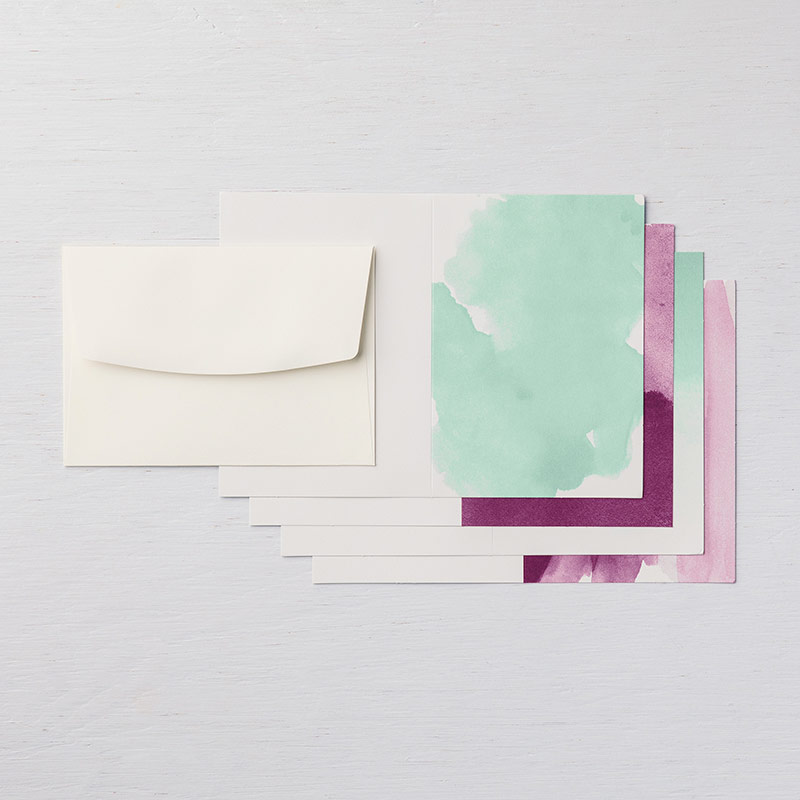
Hello!  Today I have a couple more cards to share with you that I created with a combination of Delightfully Detailed Laser Cut Paper, images from the Enjoy Life stamp set, and Brusho Crystal Color.  The technique I used for these is a bit different than the first two cards I showed you (in this post, where I used the Delightfully Detailed paper as a mask to create two different pieces to finish into cards).  Here, I created a background by sprinkling Brusho (again a combination of Yellow, Gamboge and Moss Green) onto watercolor paper, then spritzing with water and letting the colors expand and flow a bit.  I did try to keep the yellow and oranges to the top of the piece and the green more like grass along the bottom.  After the watercolor paper dried, I adhered the Delightfully Detailed Paper on top of that.  

Here is the first card:


For this card, I added a sentiment on a circle of watercolor paper, die cut with the Layering Circle Framelits, watercolored with brusho to match the background, and stamped with foliage in Mossy Meadow ink and butterflies and greeting in Blackberry Bliss.  I added some Share What You Love Artisan Pearls in the flower centers and wrapped some Fresh Fig 1/8" Sheer Ribbon twice around the watercolored/laser cut panel.

Here's the inside of this card:


Here is the second card:


And, here is the inside:


Hope you like these!

Please click the links above if you'd like to visit my online store and see more information about the products I used to create these cards.  And, don't forget it is Bonus Days in August -- for every $50 you spend, you can earn a $5 coupon to spend in September!  Please let me know if you have any questions or would like more information!


Thanks for visiting!

-Michelle

Wednesday, August 8, 2018

3D Wednesday: Share What You Love Tea Bag Dispenser Box

Happy Wednesday!  Today I want to share a special project with you that I created for a swap earlier this summer with my friend Marlene.  This is a tea bag dispenser, which I made using the Splitcoaststampers Tea Bag Dispenser Box Tutorial, and decorated with the Share What You Love Specialty Designer Series Paper:


I also wrapped the box with the Berry Burst 3/8" Metallic Edge Ribbon:


The tag is stamped in Crumb Cake with an image from the Accented Blooms Stamp Set and cropped with the Tailored Tag Punch (apologies, it photographed rather washed out, but says "hello" and I promise looks much better in real life!).  I added a silver rose from the Share What You Love Embellishment Kit to one side of the tag:


Here is a photo of it filled with tea and ready to be sent to Marlene:


This was a really fun project to make!  These would look really pretty made with the Tea Room Specialty Designer Series Paper as well . . . or maybe some Christmas paper with holiday tea!  Lots of great possibilities for making some sweet gifts!

Thanks for visiting!

- Michelle

Tuesday, August 7, 2018

Wonderful Moments Blushing Bride

Hello!  Today I have a card to share with you made with the beautiful Wonderful Moments stamp set:


I colored the image of the bride with Stampin' Blends.  She is on a Whisper White circle stamped with an image from the Swirly Frames Photopolymer set in Blushing Bride ink, and die cut with the Layering Circle Framelits, also used for the scalloped circle in Blushing Bride underneath the image.  The "For the Bride" greeting is on a die cut from the Stitched Labels Framelits.  I dressed that up with a Petal Pink Rhinestone Gem and some pearls.  I also added pearls on the back of the bride's dress, and some Wink of Stella on the dress for some shimmer.  There's a bit of Silver 3/8" Metallic-Edge Ribbon running under the greeting.  The Blushing Bride layer is embossed with the Tufted Dynamic Textured Impressions Folder.

Thanks for visiting!

- Michelle

Monday, August 6, 2018

Delightful Birthday

Happy Monday!  Hope you had a great weekend!  I had a great one -- met up with friends at the Scrapbook Expo in Santa Clara on Saturday, saw a performance of Midsummer Night's Dream in the park, checked some big items off our household to-do list, and even managed to create some cards -- have been playing more with the Color Your Season products, and hope to show you what I made soon!

Today's card is another made with the Delightfully Detailed Laser Specialty Paper.  This time, I combined it with images from the Serene Garden Bundle, which I colored with Stampin' Blends.  


The card base is Very Vanilla, with a layer of Petal Pink card stock attached to the front, and a layer of Soft Sea Foam between that and the Delightfully Detailed "frame."  The greeting is from the Wonderful Moments stamp set and is stamped on a die cut from the Stitched Labels Framelits (one of my favorite sets of dies at the moment -- perhaps you've noticed!). 

For finishing touches, I added some Iridescent Sequins and a bow made from the Coastal Cabana Ribbon in the Tea Room Ribbon Combo Pack

Thanks for visiting and happy stamping!

 - Michelle

Friday, August 3, 2018

Delightful Dandelion Wishes

Happy Friday!  Today's summery card features some new colors as well as the Dandelion Wishes Stamp Set and Delightfully Detailed Laser Cut Specialty Paper:


The card base is Balmy Blue, and I used the same color ink for the dandelion and greeting.  The image behind the dandelion is from the Bokeh Dots Stamp Set and is stamped in  Soft Sea Foam Classic Ink.  I backed the piece of Delightfully Detailed Laser Cut paper with a layer of Soft Sea Foam Card Stock.  The ovals were cut from Whisper White Card Stock with the Layering Ovals Framelits and Stitched Shapes Framelits.  The ribbon wrapped around the card and tied in a bow is the Lemon Lime Twist 1/4" Ombre Ribbon.  The center of the dandelion has a Clear Faceted Gem for an extra bit of sparkle and texture.

The Delightfully Detailed paper is so fun to use -- I love that it has both a Very Vanilla and Whisper White side for ease of color coordination! 

Thanks for visiting!  Hope you have a wonderful day!

- Michelle

Thursday, August 2, 2018

Hostess Appreciation Tea Make and Take 2 - Delightfully Colored Seasons Cards

Hi!  Today I have one last project to share from Sunday's Hostess Appreciation Tea.  For the second make and take, we created cards using this month's exclusive Color Your Season products, along with the Delightfully Detailed Note Cards and Envelopes and pieces of the Delightfully Detailed Laser Cut Specialty Paper.  The note cards have beautiful watercolor backgrounds in either Blackberry Bliss or Mint Macaron:


Here are the samples I created for the Hostess Tea:


The flowers on the background are from the Delightfully Detailed Laser Cut Specialty Paper -- don't those add a pretty touch?!  The stamped images and greetings are from the Blended Seasons Stamp Set, available this month (only while supplies last!), are stamped on Very Vanilla die cut with either dies from the Stitched Seasons Framelits or Stitched Labels Framelits ("Wishing You all the Best"), and are colored with the Watercolor Pencils Assortment 2, then lightly blended with either an Aqua Painter or Wink of Stella (for a pretty touch of sparkle!  Hard to see in the photo, but really pretty in real life).

I had some leftover kits, and here are the cards I created with those -- as you can see, some I decided to keep fairly simple and some I dressed up a bit more!


Which is your favorite? 

If you'd like to create some cards like these, you can find the supplies you'll need in my online store by clicking the links above.

Thanks for visiting!

- Michelle

Wednesday, August 1, 2018

Hostess Appreciation Tea - Memories and More Make and Take Challenge

Happy Wednesday!  Today, I have more projects from Sunday's Hostess Appreciation Tea to share with you.  For one of the make and takes, I put together a sort of limited supply challenge -- I created kits using a card or two and a sticker or two from the Tea Room Memories and More Card Pack, along with a vinyl sticker from the Tea Room Copper Vinyl Stickers, a card base and envelope from the new Memories and More Card Packs, which come in two sizes to coordinate perfectly with the Memories and More Cards -- either small or large.  I also had odds and ends that could be mixed in to create a finished card, and stamps from the Time for Tea Set, Itty Bitty Greetings Set, and the Blended Seasons Set (available exclusively this month, while supplies last!). 

Here are some of the fabulous creations made by my friends:


Aren't these wonderful!?!!!  

I've also been creating cards the past couple days with the leftover kits.  Here's one I made with a kit containing a Large Memories and More Card and Envelope:


And, the rest of my cards are made with the Small Memories and More Cards and Envelopes:


Which is your favorite?  Please leave me a comment and let me know!

These are fun to create -- you can keep them very simple, or dress them up with die cuts and other embellishments!  Hope you'll give these a try.  You can find supplies in my online store by clicking the links above.

Thanks for visiting!

- Michelle